
Ombre Nails: Step-by-Step Guide
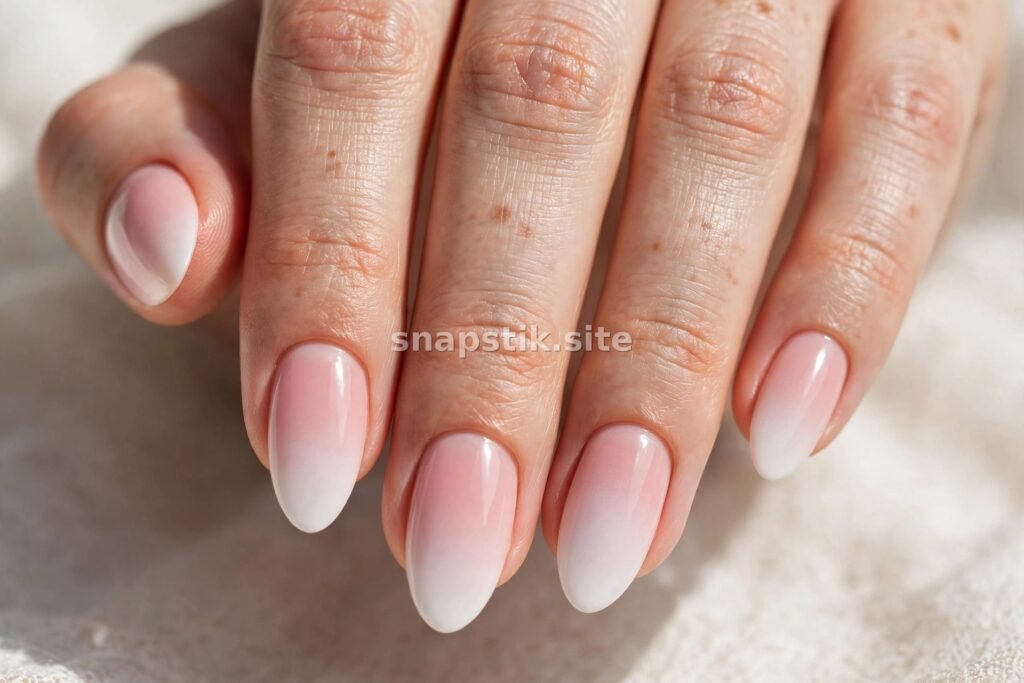
Ombre nails — a smooth gradient that fades from one colour into another — look like they belong in a salon, but the technique is surprisingly simple. All you need is a makeup sponge, two or three polishes, and a little patience. This step-by-step guide will get you there.
What You Need
- Two or three nail polishes in colours that blend well (light to dark of the same family works best)
- A makeup sponge (a wedge sponge or a small cosmetic sponge)
- Base coat and top coat
- Polish remover and a small brush for clean-up
- Optional: liquid latex or tape around the nail to protect your skin
Step 1: Prep and Base Coat
Start with clean, shaped nails and a base coat. Then apply one coat of the lightest colour in your gradient as a base over the whole nail. This gives the ombre something to build on and makes the colours look more even. Let it dry fully before moving on.
Step 2: Paint the Sponge
Paint stripes of your colours directly onto the flat edge of the makeup sponge, side by side, slightly overlapping. For a two-colour ombre, paint one half in the light colour and one half in the dark colour. For three colours, divide the sponge into thirds. The colours should touch each other on the sponge — that overlap is what creates the blend.
Step 3: Dab, Don’t Drag
Press the sponge gently onto the nail and lift it straight off. Do not drag it across the nail — dabbing is what creates the gradient. Repeat the dab two or three times on the same nail, reapplying polish to the sponge when it starts to look thin. The first layer will look patchy and streaky. That is normal. The second and third layers smooth it out.
Work on one nail at a time so the polish on the sponge does not dry out. If the sponge gets too dry, the gradient will look rough instead of smooth.
Step 4: Clean Up the Edges
Ombre with a sponge is messy — polish will get on the skin around your nails. That is fine. Let the polish dry for a few minutes, then use a small brush dipped in polish remover to clean up the edges. If you applied liquid latex around the nail beforehand, just peel it off and the skin is already clean.
Step 5: Top Coat
Finish with a generous layer of top coat. This is the step that makes ombre look professional: it smooths out any sponge texture, blends the gradient, and adds shine. One thick coat of top coat is better than two thin ones here.
Colour Combinations That Work
- Pink to white: the classic baby boomer look — soft, elegant, and perfect for weddings.
- Nude to brown: warm and subtle, great for autumn.
- Blue to purple: a dreamy, mermaid-like blend.
- Yellow to orange to red: a sunset gradient that looks stunning in summer.
- Black to silver: dramatic and glamorous, especially with a glitter top coat.
As a rule, colours that sit next to each other on the colour wheel blend best. Colours that are opposite each other (like blue and orange) can turn muddy in the middle, so use them with care.
Ombre vs Gradient: Is There a Difference?
People use the two words interchangeably, and for nails they mean the same thing: a smooth fade from one colour to another. The sponge method described here is the most popular way to do it, and it is the same technique used in many of the easy nail art designs for beginners — if you can sponge an ombre, you can do most beginner nail art.
Common Ombre Mistakes
- Using too much polish on the sponge: it goes on thick and lumpy. Use thin stripes.
- Dragging instead of dabbing: dragging smears the colours together instead of blending them.
- Skipping the base colour: without a base coat of the lightest colour, the gradient looks thin and uneven.
- Forgetting the top coat: the top coat is what makes the gradient look smooth. Do not skip it.
Try Ombre with Chrome or Glitter
Once you have the basic technique, try variations. A chrome powder over a finished ombre adds a mirror shine — see our guide to the chrome nails trend for how it works. Or add a fine glitter top coat over a dark ombre for a starry-night effect. Ombre also pairs beautifully with seasonal designs: try a red-to-gold ombre for the holidays, with ideas from our holiday nail art ideas.
Ombre is one of those techniques that looks hard and is not. Try it this weekend with two colours you already own — you will be surprised how good it looks on the first try.

Stiletto Nails: Bold Looks and Care Tips

How to Apply Nail Stickers Like a Pro

The Best Base Coats for Strong Nails
About The Author

Beauty Hub
Beauty Hub is a small independent website sharing practical, honest guides on nails, beauty, skincare, fashion, watches, cakes and home decor — plus plain-English guides to everyday money topics. Everything here is researched and written by our own team, with images created by us for each article.