
How to Frost a Cake Like a Professional
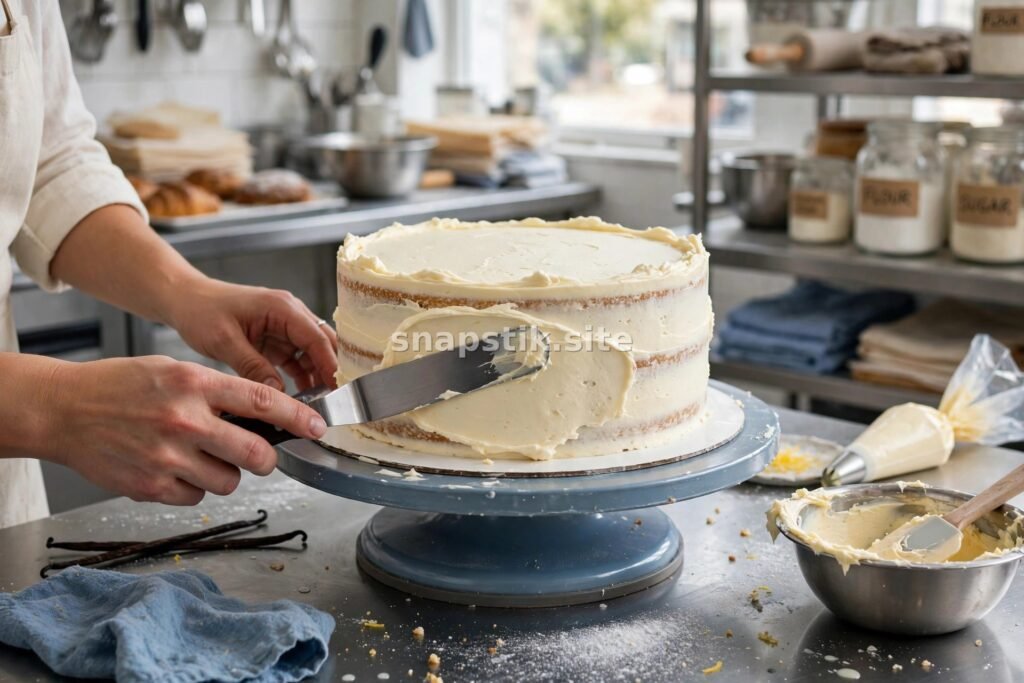
A smooth, professional-looking frosted cake seems like a skill reserved for bakeries, but it is mostly about technique and patience. With the right tools, a chilled cake, and a few simple steps, anyone can frost a cake that looks polished and clean. Here is the full process, from crumb coat to final finish.
What You Need
You do not need a professional kitchen, but a few tools make a real difference. A rotating cake turntable lets you smooth frosting evenly without walking around the cake. An offset spatula is ideal for spreading frosting on top, and a bench scraper gives you those sharp, straight sides. A piping bag is useful for borders, but not essential for a smooth finish. If you are building your kit, see our list of the best tools for cake decorating for the pieces worth buying first.
Step 1: Level and Chill the Layers
Start with level cake layers. If a layer has a dome, trim it flat with a long serrated knife. A flat top is essential for a stable, straight cake. Wrap the layers in plastic wrap and chill them for at least 30 minutes, or freeze them for 20 minutes. Cold cake is firmer, produces fewer crumbs, and is much easier to frost. This is the single most important step for a clean result.
Step 2: The Crumb Coat
Place a small dollop of frosting on your turntable or plate to anchor the cake. Set the first layer down, add a layer of frosting, then set the second layer on top. Apply a thin layer of frosting over the entire cake, just enough to trap the crumbs. This is the crumb coat. It does not need to look perfect. Chill the cake for 20 to 30 minutes until the crumb coat is firm to the touch. This step is what keeps crumbs out of your final layer.
Step 3: The Final Coat
Apply a generous amount of frosting to the top of the cake and spread it outward with your offset spatula. Then apply frosting to the sides. Hold your bench scraper vertically against the side of the cake and rotate the turntable slowly, scraping away the excess. Work in smooth, continuous motions. Wipe the scraper clean often. Fill in any gaps with more frosting and scrape again. Two or three passes usually gives a smooth finish.
Step 4: Smooth the Top Edge
After the sides are smooth, there will be a ridge of frosting sticking up around the top edge. Use your offset spatula to gently pull that ridge inward toward the center of the cake, working your way around. This creates a clean, sharp top edge. For a perfectly smooth top, you can also chill the cake briefly and then smooth it once more with a hot, dry spatula.
Choosing the Right Frosting
American buttercream is the easiest to work with and holds its shape well. Swiss meringue buttercream is silkier and less sweet, but it is softer and needs a chilled cake. Cream cheese frosting is delicious but soft, so it works best on single-layer cakes or with a chilled crumb coat. Ganache gives a glossy, firm finish and is excellent for drip cakes. For flavor ideas, see our roundup of the best chocolate cake frostings.
Common Frosting Mistakes
- Frosting a warm cake. The frosting melts and slides off. Always chill first.
- Skipping the crumb coat. Crumbs will show through the final layer.
- Using frosting that is too stiff or too soft. It should spread easily but hold its shape. Add milk a teaspoon at a time to soften, or powdered sugar to firm it up.
- Overworking the frosting. Too many passes with the scraper warms the frosting and makes it messy. Work in a few confident passes, then stop.
Once you have the basics, you can move on to decorating. Our easy cake decorating ideas for beginners will help you add the finishing touches, from simple swirls to piped rosettes.

Best Chocolate Cake Frostings

The Best Piping Tips for Cake Decorating

Coffee Cake Recipes for Brunch
About The Author

Beauty Hub
Beauty Hub is a small independent website sharing practical, honest guides on nails, beauty, skincare, fashion, watches, cakes and home decor — plus plain-English guides to everyday money topics. Everything here is researched and written by our own team, with images created by us for each article.