
Solar Panel Installation Cost: A Homeowner’s Planning Guide
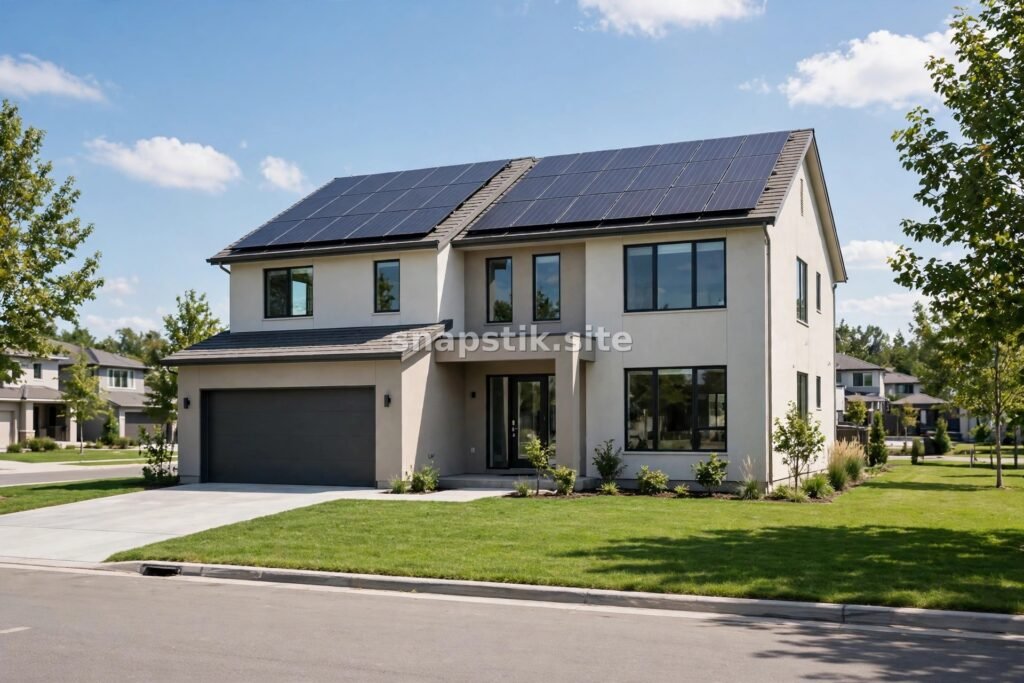
Solar panels have moved from a niche upgrade to a mainstream home improvement, and many homeowners are now weighing up whether they make sense for their own roof. The cost of a system varies widely, and the right size, the condition of your roof, and the way you use electricity at home all shape the final figure. This guide explains what drives the cost, how to plan a system that fits your home, and what to expect from the installation process — so you can make the decision with clear eyes.
What Determines the Cost of Going Solar
The biggest factor is system size: more panels generate more electricity but cost more to buy and install. Your roof’s size, angle, and direction also matter, since they decide how many panels will fit and how much sunlight they will catch. The type of panels and inverter, the complexity of the mounting work, and whether you add battery storage all influence the total as well.
- System size: sized to your household’s electricity use, not just to fill the roof.
- Roof condition and layout: a sound, unshaded roof keeps installation simple.
- Panel and inverter type: different technologies suit different budgets and roof shapes.
- Battery storage: storing power for the evening adds cost but can increase self-use.
- Permits and grid connection: paperwork and inspection requirements vary by area.
Planning Your System
Check Your Roof First
Solar panels typically stay on a roof for decades, so the roof underneath should be in good shape before they go on. If your roof is ageing or needs repairs, it is far cheaper to sort that out first than to remove and reinstall panels later. Our guide to roof replacement cost can help you plan the timing if a new roof is on the horizon.
Size the System to Your Home
A good installer will look at your electricity bills over a full year, ask about your daily routines, and check how much sun your roof receives before recommending a system size. The goal is a system that covers a sensible share of your daytime use without oversizing. Ask for a clear estimate of expected annual generation, and remember that real output varies with weather and seasons.
The Installation Process
Once you have chosen a system, installation is usually straightforward. The crew mounts rails to the roof, fixes the panels in place, connects the inverter, and wires the system into your home’s electrical panel. An inspection and grid connection follow, after which the system is switched on. Most residential installations take one to three days on site, plus time for permits and inspection scheduling.
It is also sensible to let your insurer know about the installation, since panels become part of your home. Comparing home insurance quotes can help you confirm that solar equipment is covered under your policy and understand any conditions that apply.
Getting the Most From Your Investment
Once your panels are running, small habits make a real difference. Running washing machines, dishwashers, and other heavy appliances during sunny hours uses your own electricity directly. Keep panels clear of leaves and debris, and check the monitoring app regularly so you notice any dip in output early. Most systems need very little maintenance, but an occasional professional check keeps everything working as it should.
Solar is a long-term decision, so take your time over quotes, compare like with like, and choose an installer with a solid track record and clear warranties on both panels and workmanship. A well-planned system should serve your home quietly for many years.
This article is general information, not legal, financial or medical advice.
If your roof gets good sun and your electricity bills are a regular frustration, solar is well worth a serious look — just plan it carefully, roof first, and let the numbers guide you.



About The Author

Beauty Hub
Beauty Hub is a small independent website sharing practical, honest guides on nails, beauty, skincare, fashion, watches, cakes and home decor — plus plain-English guides to everyday money topics. Everything here is researched and written by our own team, with images created by us for each article.